Description
| S.No. | Ref No. | Length |
| 1 | CM2706 | 2.7 x 6mm |
| 2 | CM2708 | 2.7 x 8mm |
| 3 | CM2710 | 2.7x 10mm |
| 4 | CM2712 | 2.7x 12mm |
| 5 | CM2714 | 2.7x 14mm |
| 6 | CM2716 | 2.7x 16mm |
| 7 | CM2718 | 2.7x 18mm |
| 8 | CM2723 | 2.7 x 20mm |
| 9 | CM2722 | 2.7 x 22mm |
| 10 | CM2724 | 2.7 x 24mm |
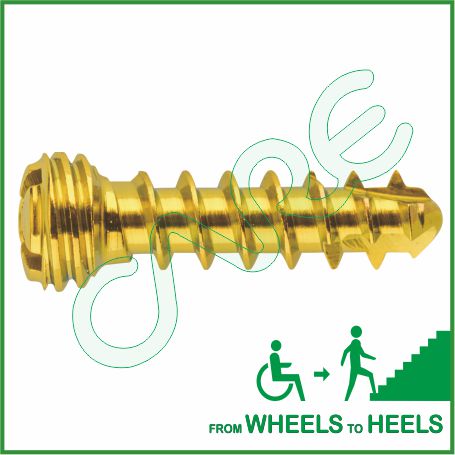
Cross-fit Self Locking Screw, 2.7mm Specification
- Screws available lengths are 6mm, 8mm, 10mm, 12mm, 14mm, 16mm, 18mm, 20mm, 22mm and 24mm.
- Screws are made from pure Titanium and SS 316L.
- Any additional length sizes of this screw will be made on demand.
- This is Cross-fit Self Locking screw.
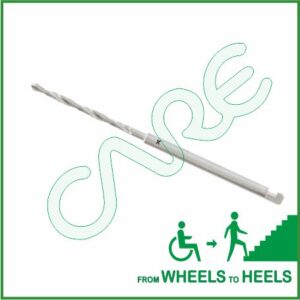
- Instruments are available for this screw such as Bone Taps, Combined Drill & Tap Sleeve, Counter Sink, Depth Gauge, Drill Bits, Drill Guide, Drill Sleeve, Hollow Mill Screw Removal, Reverse Measuring Device, Screw Drivers and Screw Holding Forceps etc.
Cross-fit Self Locking Screw, 2.7mm Indications
Cross-fit Self Locking Screw, 2.7mm is intended for oral, maxillofacial surgery; trauma and reconstructive surgery, specifically for fractures of the subcondylar region of the mandible and fractures of the condylar basis region of the mandible.
Cross-fit Self Locking Screw, 2.7mm Contraindications
Screw is contraindicated for use in Acute or chronic, local or systemic infections, Allergy to implant material and Insufficient bone quality to secure implant.
Cross-fit Self Locking Screw, 2.7mm Precautions
- Confirm functionality of instruments and check for wear during reprocessing. Replace worn or damaged instruments prior to use.
- It is recommended to use the instruments identified for this screw.
- Handle devices with care and dispose worn bone cutting instruments in a sharps container.
- Always irrigate and apply suction for removal of debris potentially generated during implantation or removal.
Cross-fit Self Locking Screw, 2.7mm Warnings
- Screws can break during use (when subjected to excessive forces). While the surgeon must make the final decision on removal of the broken part based on associated risk in doing so, we recommend that whenever possible and practical for the individual patient, the broken part should be removed. Be aware that implants are not as strong as native bone. Implants subjected to substantial loads may fail.
- Instruments, screws and cut plates may have sharp edges or moving joints that may pinch or tear user’s glove or skin.
- Take care to remove all fragments that are not fixated during the surgery.
- While the surgeon must make the final decision on implant removal, we recommend that whenever possible and practical for the individual patient, fixation devices should be removed once their service as an aid to healing is accomplished. Implant removal should be followed by adequate post-operative management to avoid refracture.
Cross-fit Self Locking Screw, 2.7mm General Adverse Events
As with all major surgical procedures, risks, side effects and adverse events can occur. While many possible reactions may occur, some of the most common include: Problems resulting from anesthesia and patient positioning (e.g. nausea, vomiting, dental injuries, neurological impairments, etc.), thrombosis, embolism, infection, nerve and/or tooth root damage or injury of other critical structures including blood vessels, excessive bleeding, damage to soft tissues incl. swelling, abnormal scar formation, functional impairment of the musculoskeletal system, pain, discomfort or abnormal sensation due to the presence of the device, allergy or hypersensitivity reactions, side effects associated with hardware prominence, loosening, bending, or breakage of the device, mal-union, non-union or delayed union which may lead to breakage of the implant, reoperation.
Surgical Technique
Expose and reduce fracture
After completing the preoperative plan, expose the fracture or osteotomy site. For trauma, reduce the fracture as required.
Select and prepare implant
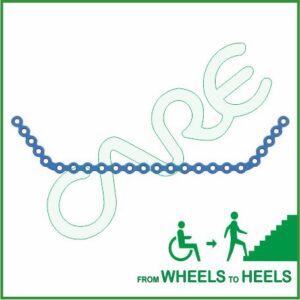
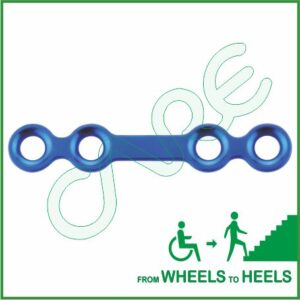
Select the appropriate plate depending on the indication. Orient the plate so the topside is facing out. Cut to length, if necessary. Mini and intermediate plates may be cut using the combination bending/cutting pliers. Large plates may be cut using the shortcut plate cutters. Determine the appropriate screw type.
Contour the plate
Contour the plate to match the anatomy. An exact match is not required when using locking screws, because plate stability is not dependent on plate-to-bone contact when screws are locked. Plates can be contoured using the combination bending/cutting pliers and combination bending pliers.
Position the plate
Place the plate over the fracture or osteotomy site. Use the plate holding forceps to secure the plate to the bone, if desired.
Drill the hole
Predrilling is recommended in complex fractures of the mid face and in regions with thick cortical bone. Drill the first hole close to the fracture or osteotomy site.
Screw insertion
Insert the proper length locking or non locking screw through the plate and tighten until secure. Insert the second screw on the opposite side of the fracture or osteotomy site, and then all remaining screws, following the previously outlined procedure. Securely tighten all screws unless resection is to follow.
Resect the mandible
Once the plate is in place, remove the plate and screws, taking note of each screw’s placement. Resect the mandible.
Replace the implants
Place the plate back onto the mandible in its original position. Reinsert each predetermined screw. Check all screws to ensure a secure fit in the plate.
Apply bone graft
A vascularized bone graft must be applied to constructs used in reconstructing the mandible.
 CARE IMPLANTS & INSTRUMENTS


